Captcha Setup Without the Headache

Learn how to configure CAPTCHA effortlessly with this step-by-step guide, avoiding common pitfalls and ensuring smooth, secure environment setup.
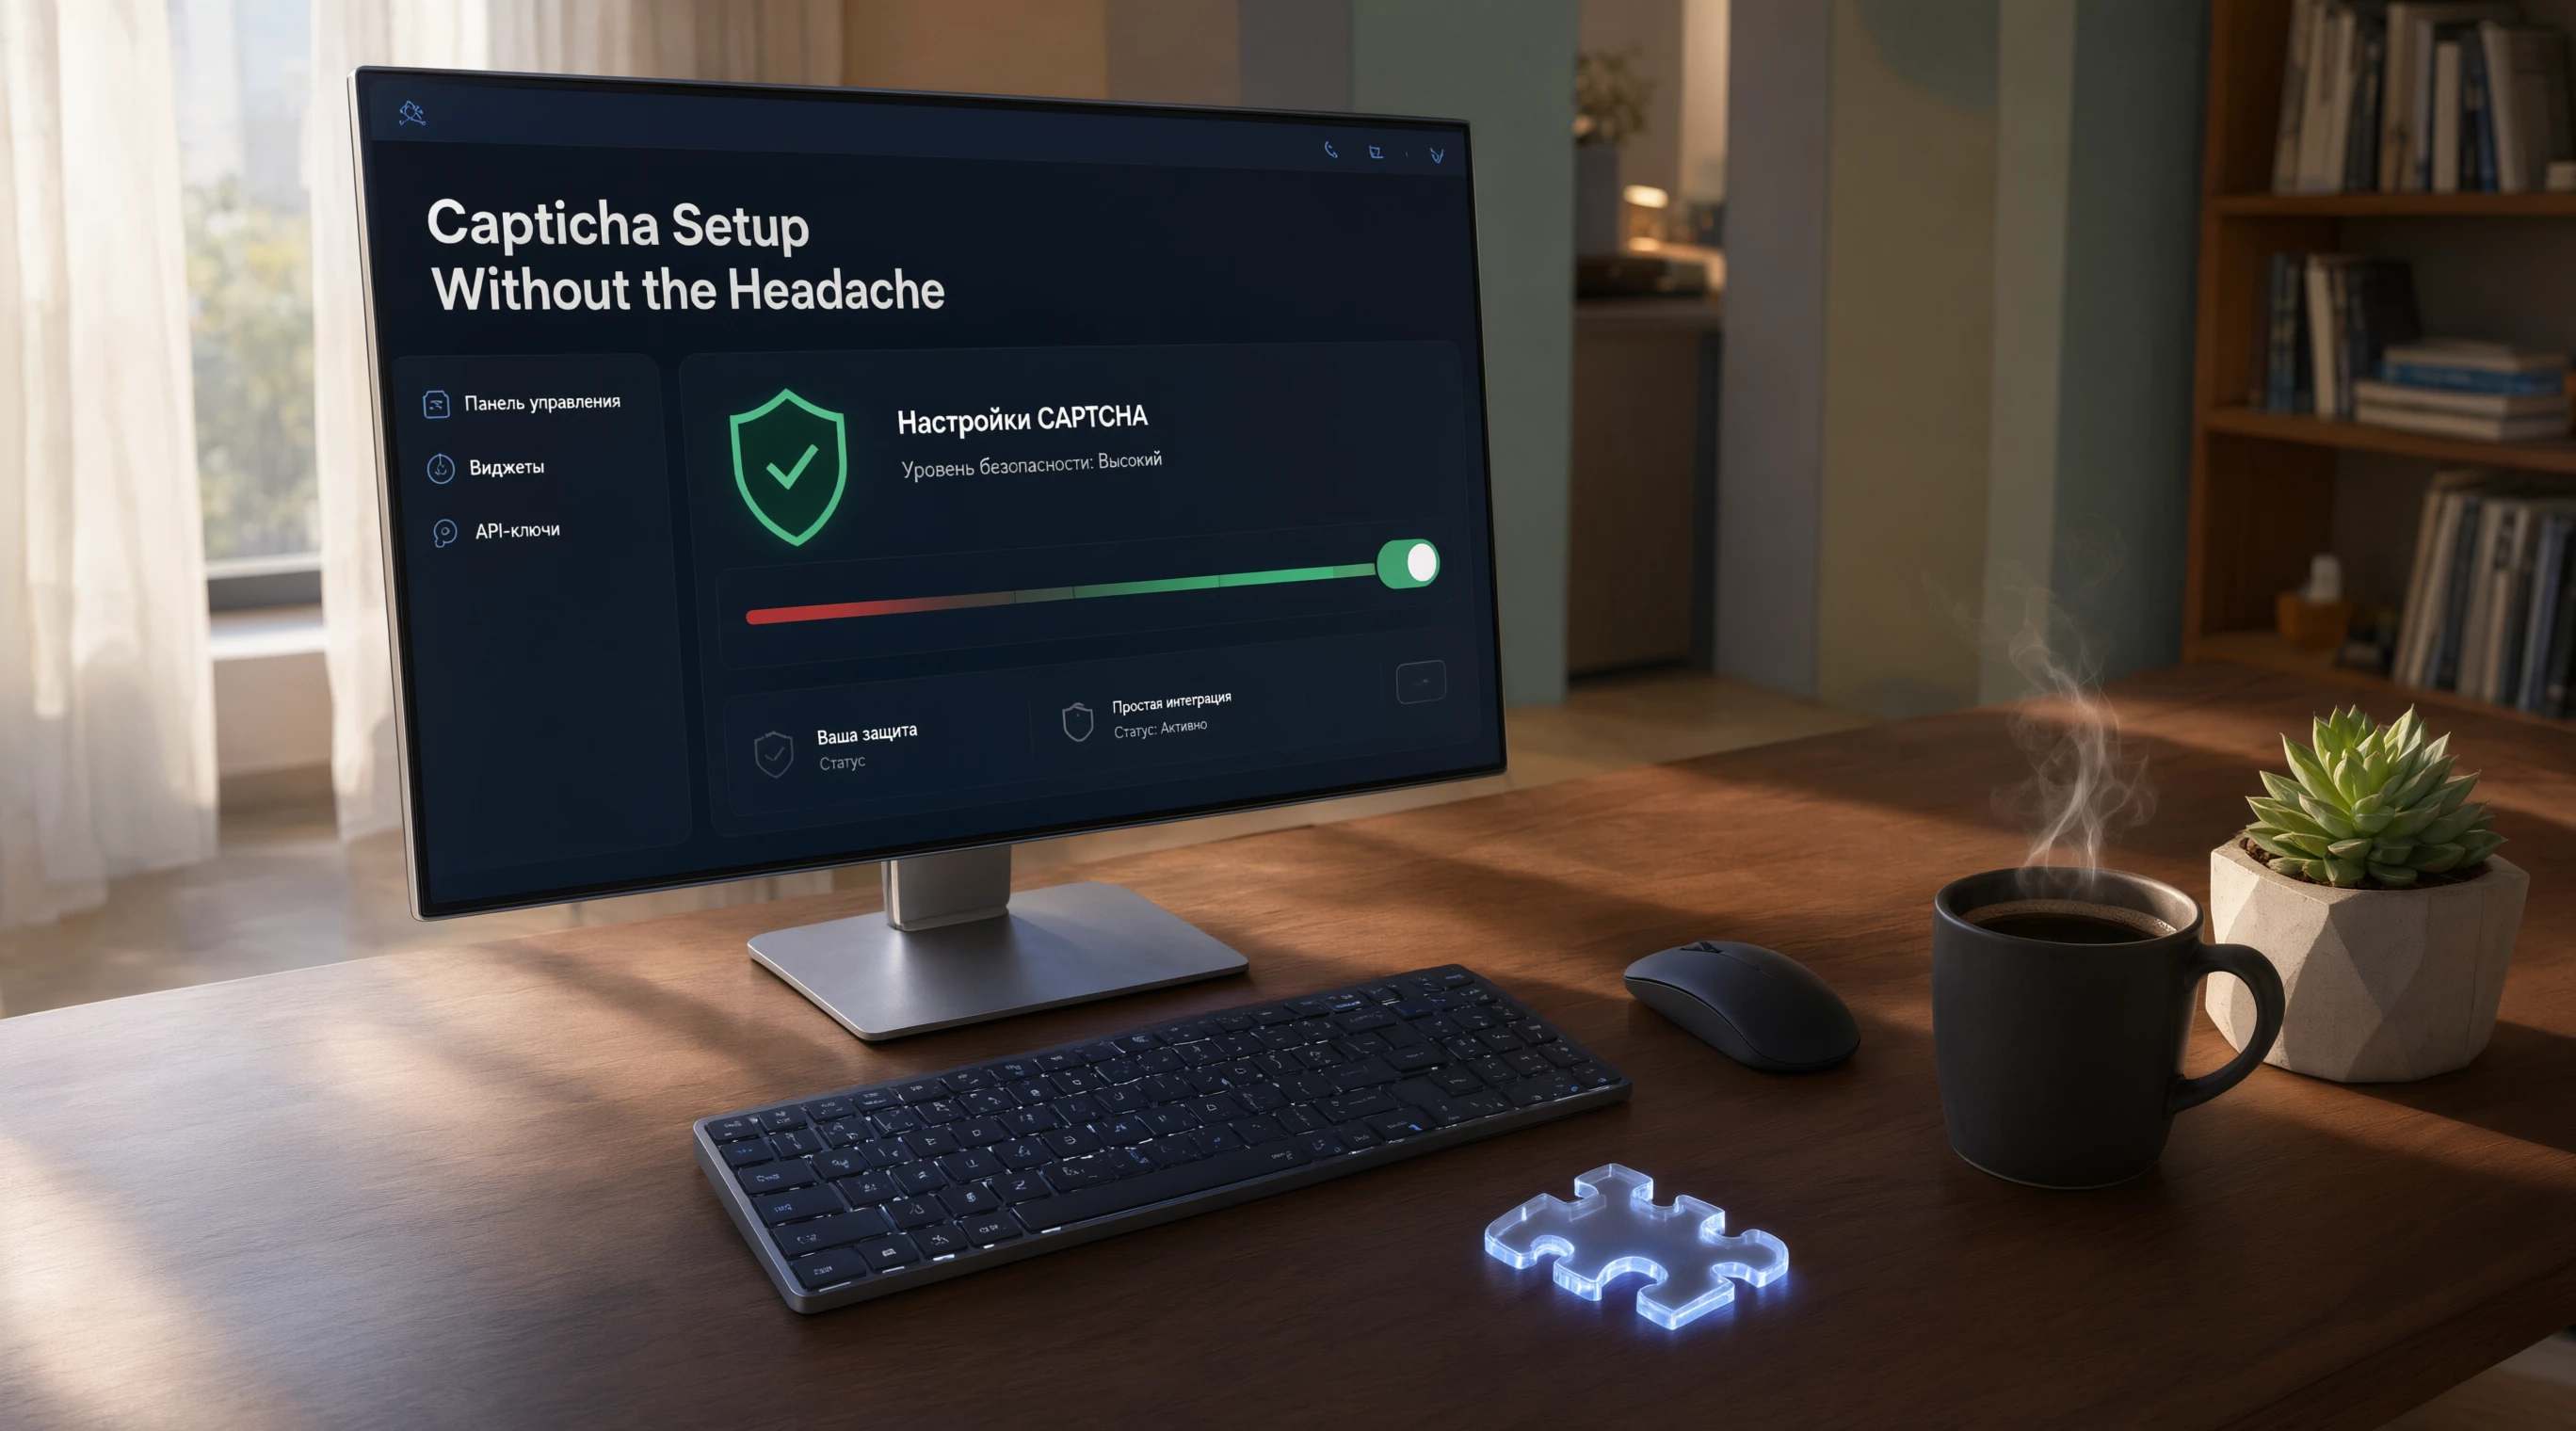
Captcha Setup Without the Headache
You’ve built a solid form, added rate limiting, and then you hit the wall: CAPTCHA. It’s either too easy for bots to bypass, or so aggressive that it churns away real users. The worst part is the configuration itself-misplaced keys, wrong domain settings, or a callback that never fires. This guide walks you through a friction-free setup that avoids those pitfalls and keeps your environment secure from day one.
Why CAPTCHA Integration Fails (and It’s Not the Bot)
Most setup failures aren’t caused by malicious traffic. They come from three recurring mistakes: using test credentials in production, ignoring the environment’s network policy, and mismatching the widget’s rendering mode with your page’s load strategy.
The result? Either the challenge never appears, or it appears but silently blocks legitimate submissions. You don’t need a smarter bot to break your security-you need a correct configuration.
Let’s fix that systematically.
Before You Start: Prerequisites for a Clean Setup
Check these off before writing a single line of code:
- Access to the dashboard of your CAPTCHA provider (we’ll use a generic example, but the logic applies everywhere).
- Two separate site key pairs: one for
localhost/staging, one for production. Never share them. - A clear list of allowed domains (including
https://andhttp://variants, plus any subdomains). - A fallback mechanism if the CAPTCHA script fails to load (e.g., a server-side validation flag).
If you’re missing any of these, the rest of this guide will still work, but you’ll likely patch things up later.
Step 1: Configure the Environment Variables Correctly
Hardcoding keys into your source code is the fastest way to leak them. Use environment variables instead. Here’s a minimal .env example:
CAPTCHA_SITE_KEY=your_site_key_here
CAPTCHA_SECRET_KEY=your_secret_key_here
CAPTCHA_ENABLED=true
Then, in your backend, load them like this (Node.js example):
const captchaConfig = {
  siteKey: process.env.CAPTCHA_SITE_KEY,
  secretKey: process.env.CAPTCHA_SECRET_KEY,
  enabled: process.env.CAPTCHA_ENABLED === 'true',
};
Why this matters: If you commit a real secret key to a public repository, you’ll have to rotate it. That’s not just a nuisance-it’s a security incident. Environment variables keep your setup portable and safe.
Step 2: Render the Widget Without Breaking Your Page Speed
The classic mistake is loading the CAPTCHA script synchronously in the <head>. That blocks rendering for a few hundred milliseconds-enough to hurt your Core Web Vitals.
Instead, load it asynchronously and render the widget only when the form is visible:
<script src="https://captcha-provider.example.com/api.js?render=explicit" async defer></script>
Then, in your form’s onload event, call the render function:
window.onload = function () {
  if (window.grecaptcha) {
    grecaptcha.render('captcha-container', {
      sitekey: captchaConfig.siteKey,
      theme: 'light',
    });
  }
};
Practical tip: If your form is below the fold, delay the render until the user scrolls near it. Use Intersection Observer for that. This keeps your initial load light and still provides protection when needed.
Step 3: Validate on the Server-Always
Client-side verification is just a UX layer. The real check happens on your backend. Never trust the token alone; always verify it with the provider’s API.
Here’s a typical flow in Node.js:
const verifyCaptcha = async (token) => {
  const response = await fetch('https://captcha-provider.example.com/siteverify', {
    method: 'POST',
    body: new URLSearchParams({
      secret: captchaConfig.secretKey,
      response: token,
    }),
  });
  const data = await response.json();
  return data.success && data.score >= 0.5; // adjust threshold as needed
};
Common pitfall: Forgetting to check the hostname field in the verification response. If your secret key is leaked, an attacker could replay tokens from another domain. Verify that data.hostname matches your site’s domain.
Step 4: Handle Edge Cases Gracefully
CAPTCHA isn’t infallible. Users might have JavaScript disabled, or the provider’s API might be down. Plan for these scenarios:
- No script fallback: Show a simple math question or a honeypot field.
- Token expiration: Most tokens last 120 seconds. If the user spends too long on the form, refresh the token silently via a hidden button.
- Retry logic: If the verification endpoint times out, retry twice with exponential backoff (e.g., 300ms, 900ms).
Here’s a quick pseudocode for the fallback:
if (captchaScriptFailed) {
  enableHoneypotField();
  showMathQuestion();
} else {
  renderCaptchaWidget();
}
Step 5: Test in a Realistic Environment
Localhost testing is fine, but it doesn’t replicate production conditions. Set up a staging environment that mirrors your production domain and network settings.
What to test specifically:
- Cross-browser behavior: Chrome, Firefox, Safari, and a mobile browser.
- Slow network (throttle to 3G) to ensure the async script doesn’t break your form.
- Ad blockers: Some blockers interfere with CAPTCHA scripts. Whitelist your provider’s domain or use a fallback.
A real case: We once saw a client’s CAPTCHA failing only on Safari because they forgot to include crossorigin="anonymous" on the script tag. The fix took 10 seconds, but the debugging took two days. Test early, test often.
The Role of a Managed Solving Service
Even with a perfect setup, you might face a different problem: you need to handle CAPTCHAs at scale-for testing, scraping, or automation. That’s where a service like NonCaptcha comes in. Instead of building your own solving pipeline, you can offload it via an API.
For instance, when you’re running automated tests that submit forms hundreds of times, you don’t want to manually solve challenges. A managed solution handles that transparently. And if you’re dealing with a high-traffic environment, offloading CAPTCHA solving ensures your main server isn’t blocked waiting for a human response.
This approach is especially useful when you’re working with https captcha endpoints that require a secure connection and proper token handling-the service takes care of the protocol details, so you don’t have to reinvent the wheel.
Troubleshooting: Quick Fixes for Common Issues
| Symptom | Likely Cause | Solution |
|---|---|---|
| Widget doesn’t render | Script loaded before DOM | Move render call to window.onload |
| Verification always fails | Wrong secret key | Double-check environment variables |
| Token expired | User took too long | Add silent token refresh |
| Works on localhost, fails on production | Domain mismatch | Add production domain to allowlist |
| Slow page load | Synchronous script loading | Switch to async defer |
Final Checklist Before Going Live
Run through this list to catch the last 1% of issues:
- Environment variables are set in all environments (staging, production).
- The allowlist includes all relevant domains (including
wwwand non-www). - Server-side verification checks
hostnameandscore(if applicable). - Fallback works with JavaScript disabled.
- The async script doesn’t affect your LCP or CLS metrics.
- You’ve tested on at least one mobile device.
You Don’t Have to Do It All Manually
Setting up CAPTCHA correctly is a solved problem, but it still takes time-time you could spend on your core product. If you’re tired of debugging edge cases, consider letting a dedicated service handle the solving side for you. NonCaptcha offers a straightforward API that integrates with your existing stack, and it’s built for developers who need reliability without the overhead.
Try it on a small project first. You’ll likely find that the two-hour setup turns into a fifteen-minute integration. And that’s the kind of win that makes a Friday afternoon productive.